
Quick Start: Create Salesforce Forms in Slack
Please Note - Centro will be winding down Workflow Builder 1.0 in favor of Centro Forms in 2024 - Please contact your account team to discuss!
Navigate to Slack Workflow Builder
Centro provides Slack Workflow Builder Steps that provide advanced integrations to Salesforce. This article will describe a common scenario: allowing a Slack member or Slack Connect external member to create Salesforce records. See this video for a brief overview. In addition, we provide the Quick Start Slack Workflow definition to get you started! We'll define two types of users:
- Form Designer - User with a Salesforce License to create the Form and Publish the Slack Workflow Steps. The connection to Salesforce will utilize this person's license and access to Salesforce.
- Form User - Slack internal or external members that use the Workflow steps and make Form submissions. These users will leverage the connection the Form Designer has to Salesforce. Note - Form Designers should have the appropriate permissions in Salesforce for others to create records. We recommend a Service Account so that the Created By user in Salesforce is understood, but this is not a requirement.
Pre-requisites:
- A Pro or higher version of Slack. Slack Workflow only works on paid plans of Slack.
- Centro is installed in the Slack Workspace.
- At least one Slack Member who has connected to Salesforce with an appropriate Salesforce license. This will be the Form Designer in this example.
- See this article for Connecting Centro to Salesforce.
Slack Connect channel to use the Slack Shortcut to "Log a Case". Let's get started!
Form Designer:
- Open the Slack Workspace Menu -> Tools -> Workflow Builder:
 -Click Import on the resulting modal:
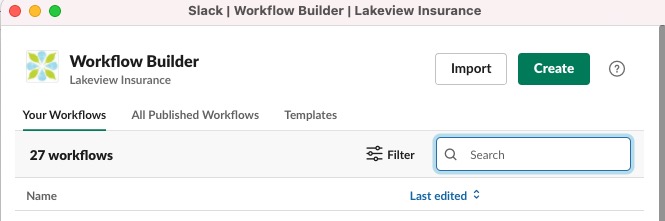
- Download and save this Workflow Builder File to your desktop (Note, this is from this Slack Article). In the Select a File dialog, select the "log_a_case.slackworkflow" file.
- Optionally rename the workflow, click Next. "Got it" to the import success dialog. Failed to import? Email Support@centro.rocks
- The workflow will alert you to pick a channel to set the WOrkflow to. Slack limits one Workflow per Channel currently, and this is perhaps advantageous as you'll see in a moment. Fix by pressing Edit, and then set to the appropriate channel.
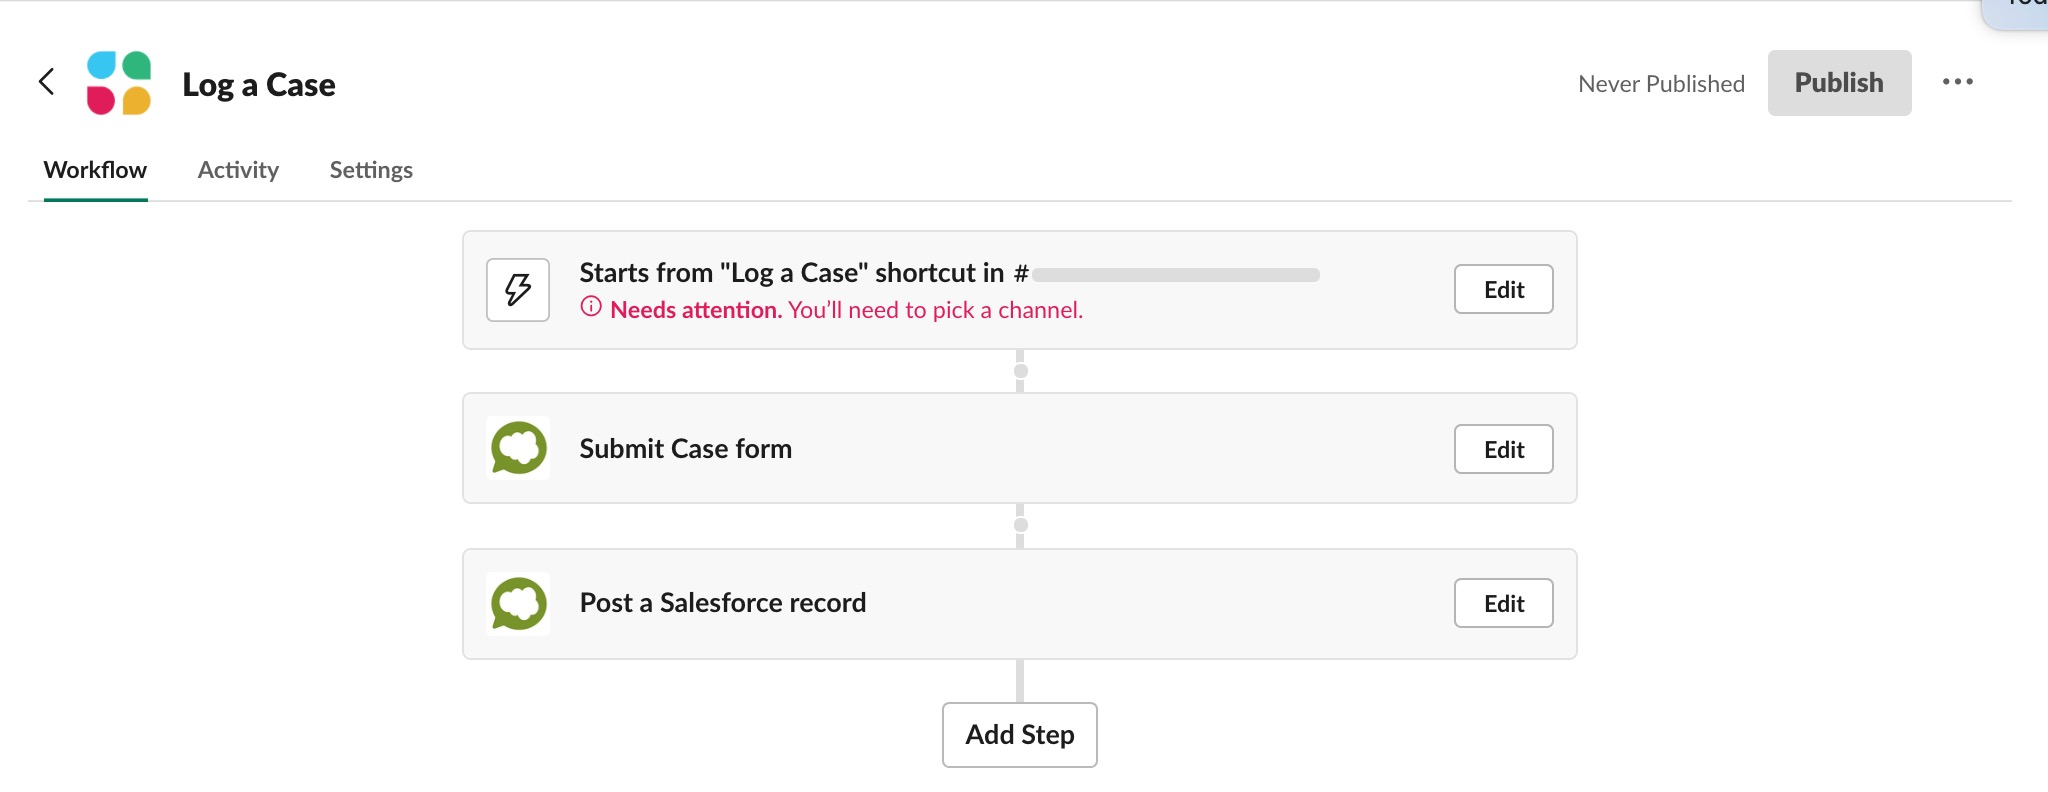
- Open the Submit Case Form step. Notice that the "Connected as Salesforce User" will be associated with the Workflow Designer's login to Salesforce. All users leveraging this Form submission will utilize this user!
- Modify the form as you see fit. Review this Show Form article for more. Note this sample workflow has the pre-filled, hidden field Account (please modify or remove), and the Contact field will be filtered on this Account.
- Make any other modifications to the Workflow as you see fit. Or click "Publish"!
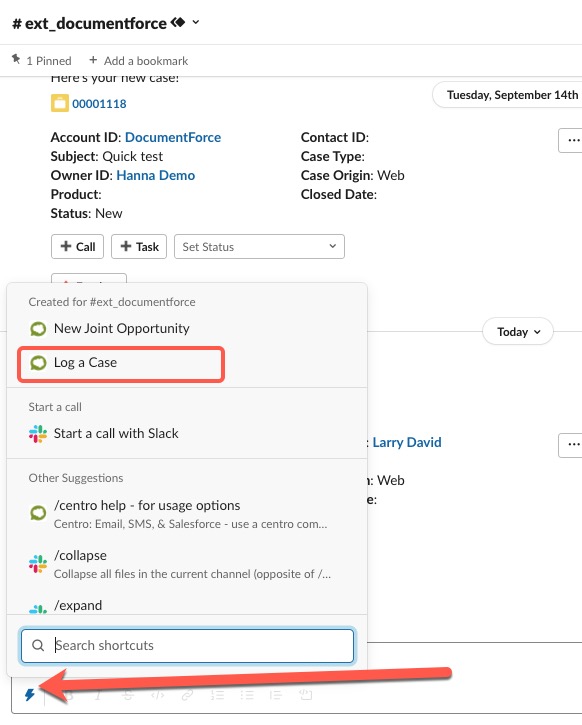
Test out the workflow by finding it in the Shortcut menu:
After the workflow executes, an activity log of the date and time the workflow was started, who started it, and the status or error of each step of the workflow is available in the Workflow's "activity" tab in Workflow builder.