
Setup An @Mentionable Agentforce Agent in Microsoft Teams
This guide shows how to configure an @-mentionable Agentforce Agent in Microsoft Teams using the Centro app. You’ll create a dedicated service account, authorize it in Centro, add it to your team or chat, and finish setup by @mentioning the agent.
Prerequisites
Centro app installed in your Microsoft Teams tenant.
A Salesforce Connected App already linked in Centro (see the separate setup guide).
Credentials for a dedicated Microsoft 365 user (service account) to act as the agent.
Part 1 — Create (or Confirm) a Dedicated Agent User
Create a standard Microsoft 365 user (e.g.,
Centro Service Agent) to serve as the agent identity. This user will be dedicated to the use of being @mentioned in Teams, and it's responses will be integrated to the Agentforce Agent you setup in Salesforce.Assign a unique email and avatar as desired.
Keep the account minimal—no special admin roles required.
Record the username and password; you’ll use these to authorize Centro.
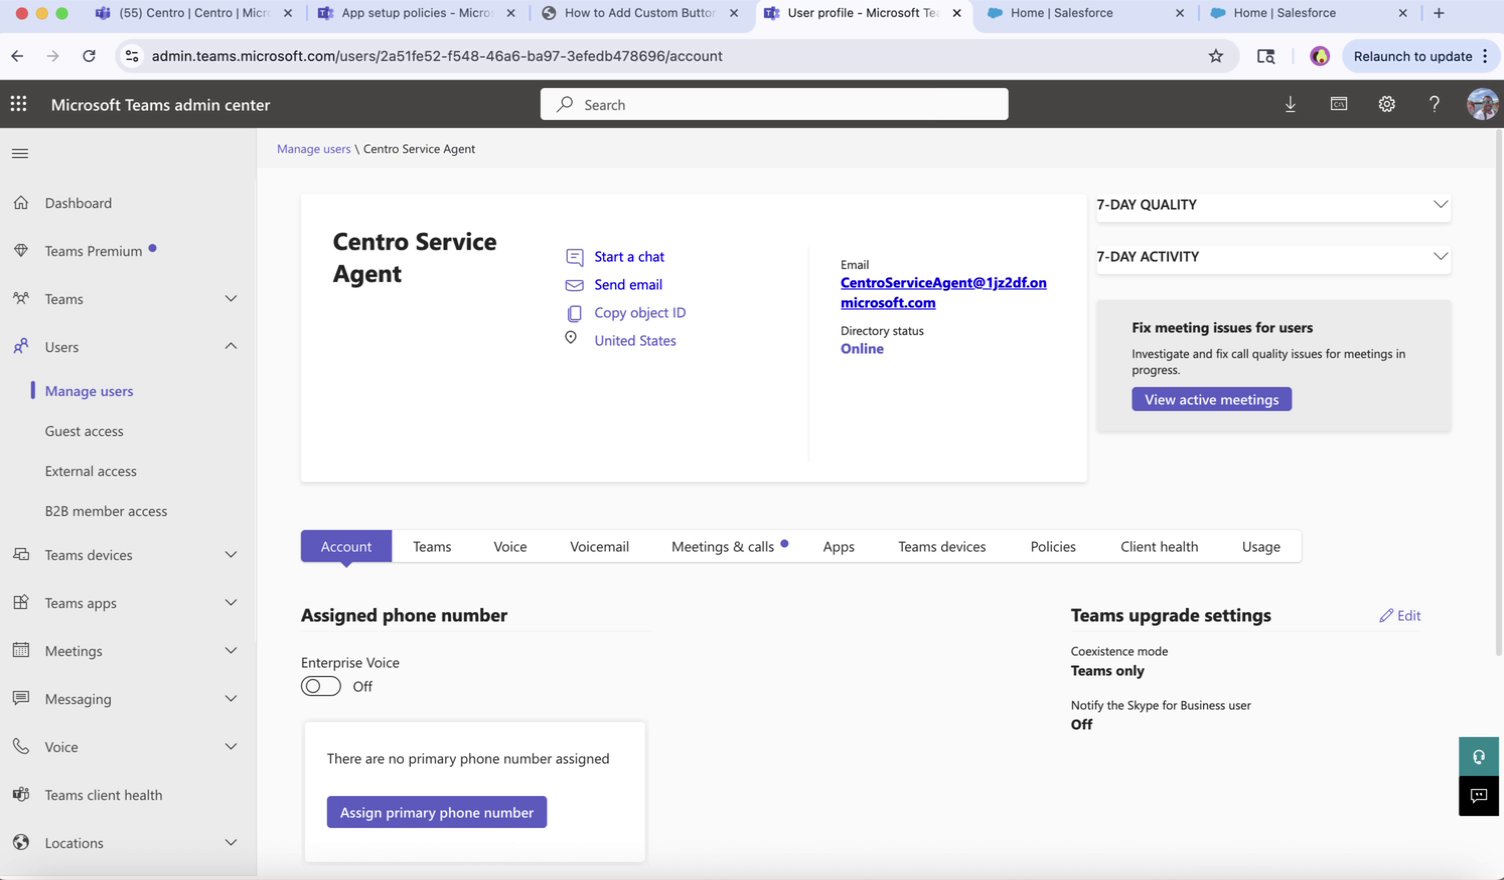
Microsoft Teams User Dedicated to Agent Setup
Part 2 — Authorize the Agent in the Centro App
Open Microsoft Teams > Centro app.
Go to the Agentforce tab and click the gear icon.
Choose your user-based @-mentionable agent, then click Authorize Centro.
When prompted, sign in as the dedicated agent user you created above.
Confirm the status shows the new agent user as configured.
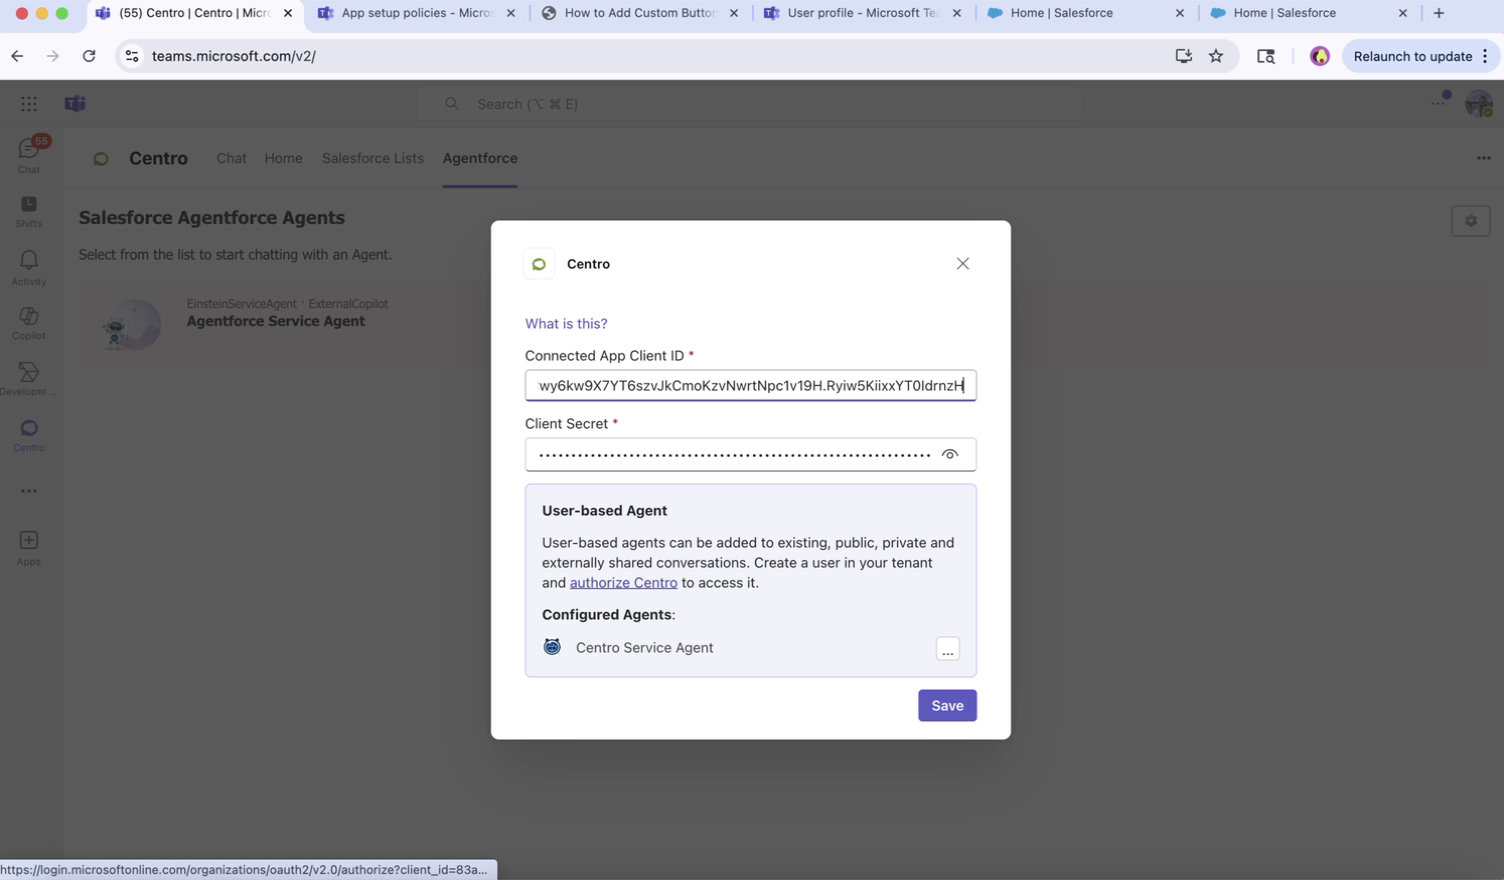
Authorize Teams User to Agent
Note: Your Salesforce Connected App should already be configured and connected in Centro before authorizing the agent.
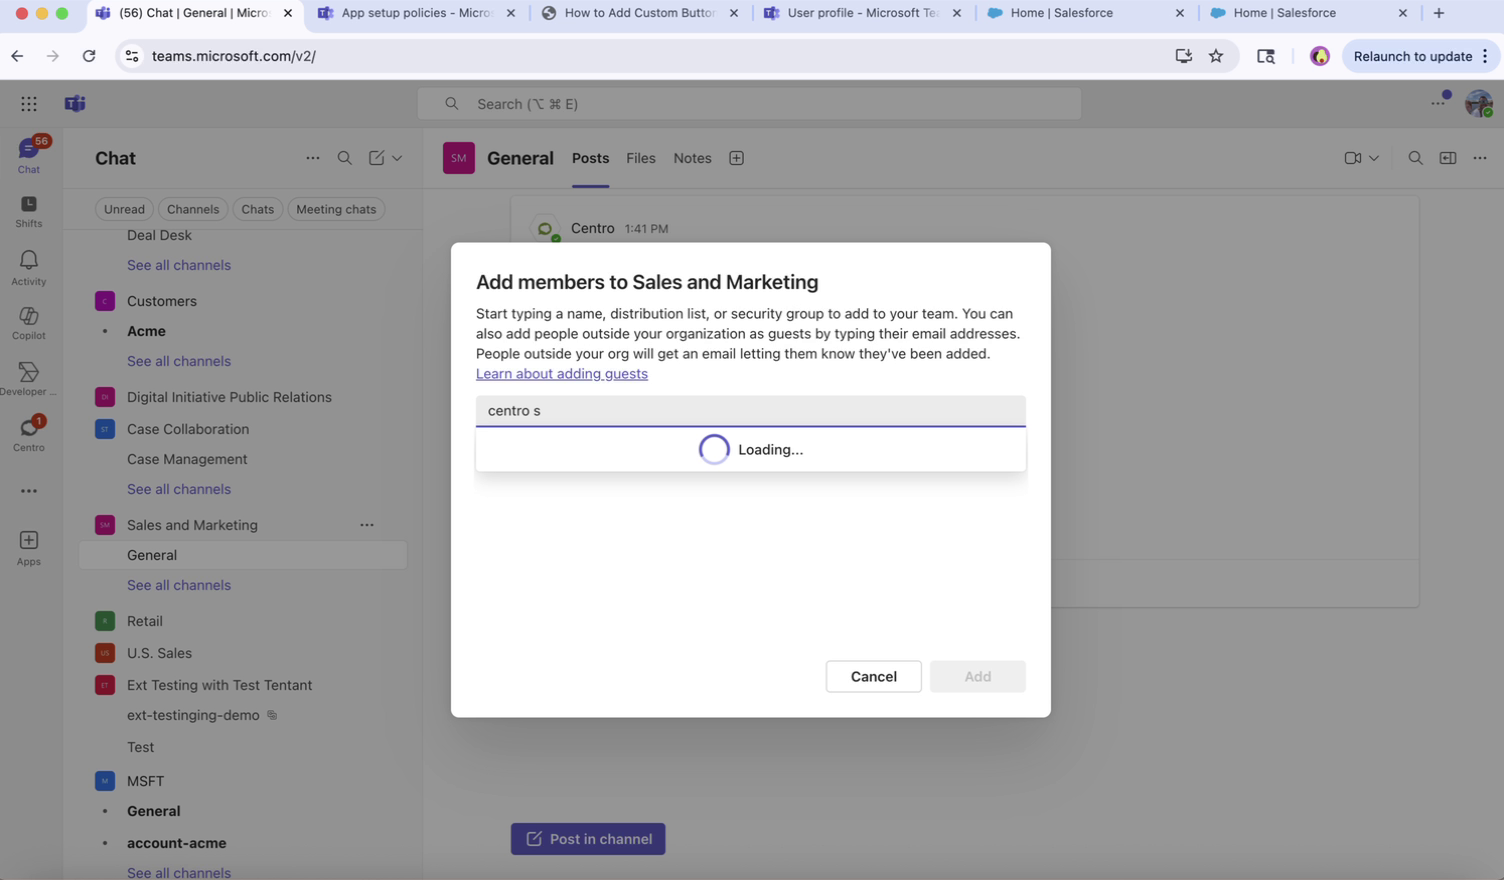
Part 3 — Add the App and Agent to Your Team/Channel
Navigate to the target Team or Chat.
For a Team: go to Manage team > Apps and ensure the Centro app is added. If not, select More apps to add it.
Add your agent user (e.g., Centro Service Agent) as a member of the Team (or to the group chat).
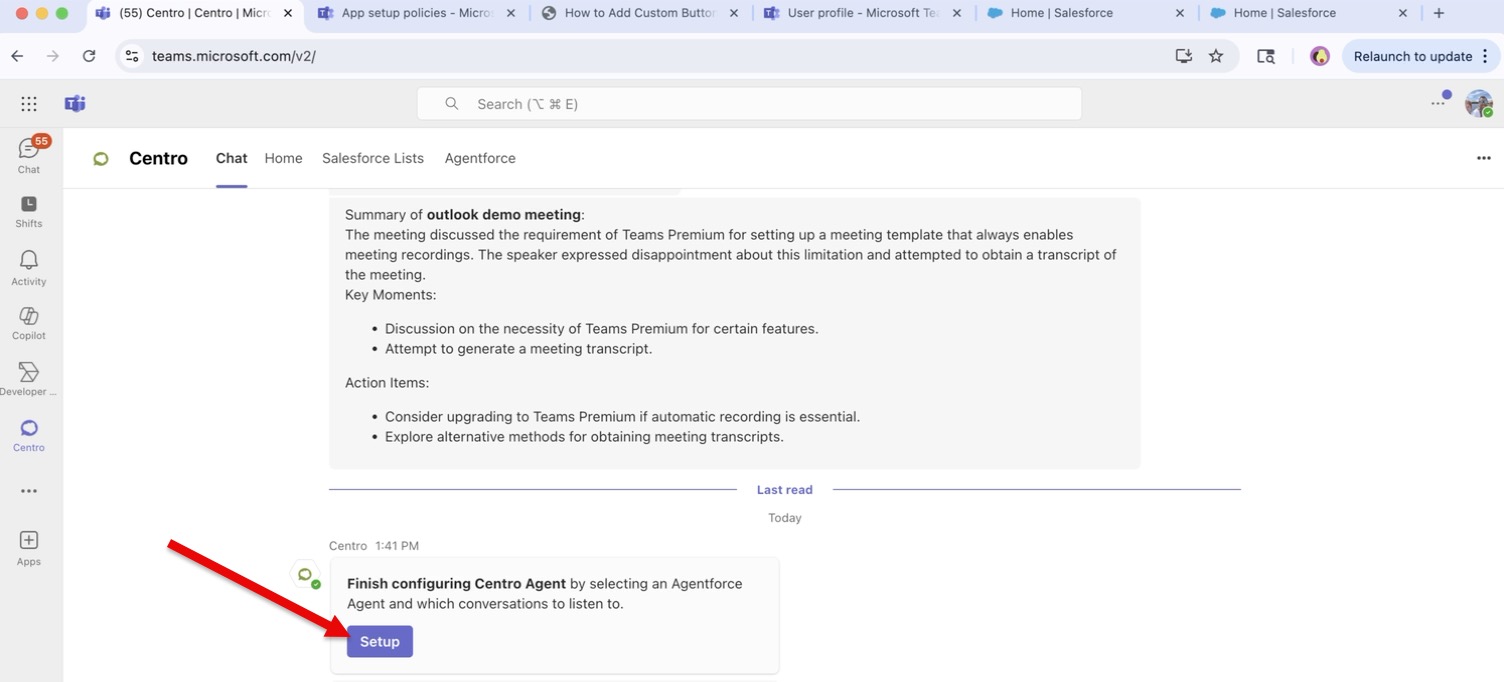
Part 4 — Finish Setup by @Mentioning the Agent
In the target channel or chat, type
@<Your Agent Name>to mention the agent.The Centro bot will DM you (or post) prompting you to finish configuration.
Click Set up, choose the correct agent, and select which conversations the agent should listen to.
Save your choices to complete setup.
Part 5 — Test the Agent
Return to the channel or chat and @mention the agent again.
Verify the agent replies appropriately to confirm everything is working.
Troubleshooting
No setup prompt? Confirm the Centro app is added to the Team/Chat and the agent user is a member.
Authorization failed? Re-open Agentforce > gear and click Authorize Centro, then re-enter the agent credentials.
Agent not responding? Ensure the correct conversations were selected during setup; repeat the setup prompt if needed.
Questions? Contact your administrator or Centro support: support@centro.rocks.