Set Up an @ Mentionable Agentforce Agent in Microsoft Teams
This guide shows how to configure an @-mentionable Agentforce Agent in Microsoft Teams using the Centro app. You’ll create a dedicated service account, authorize it in Centro, add it to your team or chat, and finish setup by @mentioning the agent.
Prerequisites
- Centro app installed in your Microsoft Teams tenant.
- A Salesforce Connected App already linked in Centro (see the separate setup guide).
- Credentials for a dedicated Microsoft 365 user (service account) to act as the agent.
Part 1 — Create (or Confirm) a Dedicated Agent User
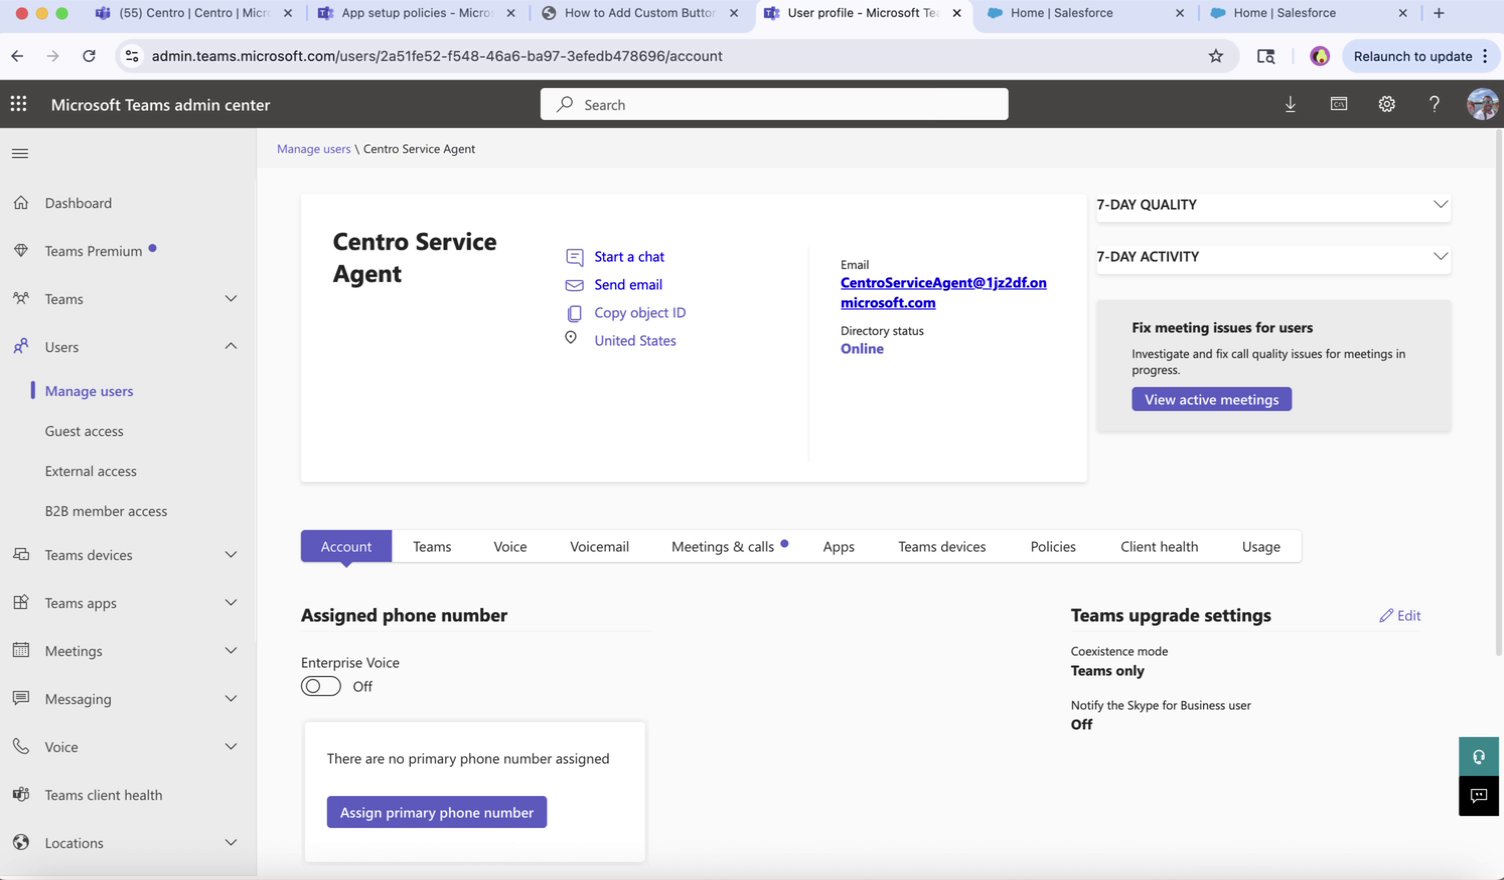
- Create a standard Microsoft 365 user (e.g.,
Centro Service Agent) to serve as the agent identity. This user will be dedicated to the use of being @mentioned in Teams, and it's responses will be integrated to the Agentforce Agent you setup in Salesforce. - Assign a unique email and avatar as desired.
- Keep the account minimal—no special admin roles required.
- Record the username and password; you’ll use these to authorize Centro.
 Microsoft Teams User Dedicated to Agent Setup
Part 2 — Authorize the Agent in the Centro App
- Open Microsoft Teams > Centro app.
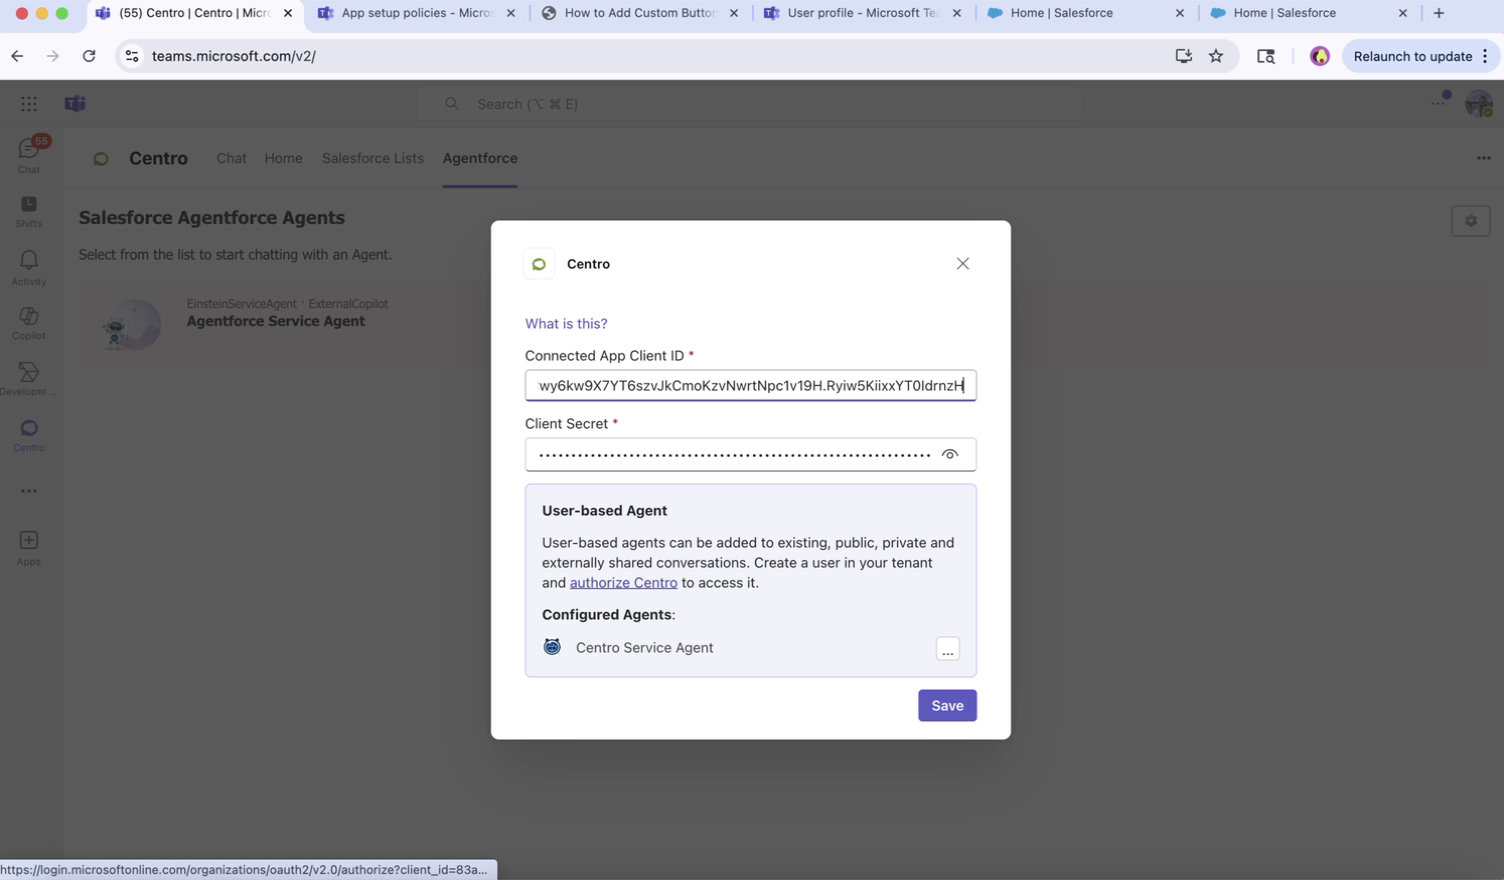
- Go to the Agentforce tab and click the gear icon.
- Choose your user-based @-mentionable agent, then click Authorize Centro.
- When prompted, sign in as the dedicated agent user you created above.
- Confirm the status shows the new agent user as configured.
 Authorize Teams User to Agent
Note: Your Salesforce Connected App should already be configured and connected in Centro before authorizing the agent.
Part 3 — Add the App and Agent to Your Team/Channel
- Navigate to the target Team or Chat.
- For a Team: go to Manage team > Apps and ensure the Centro app is added. If not, select More apps to add it.
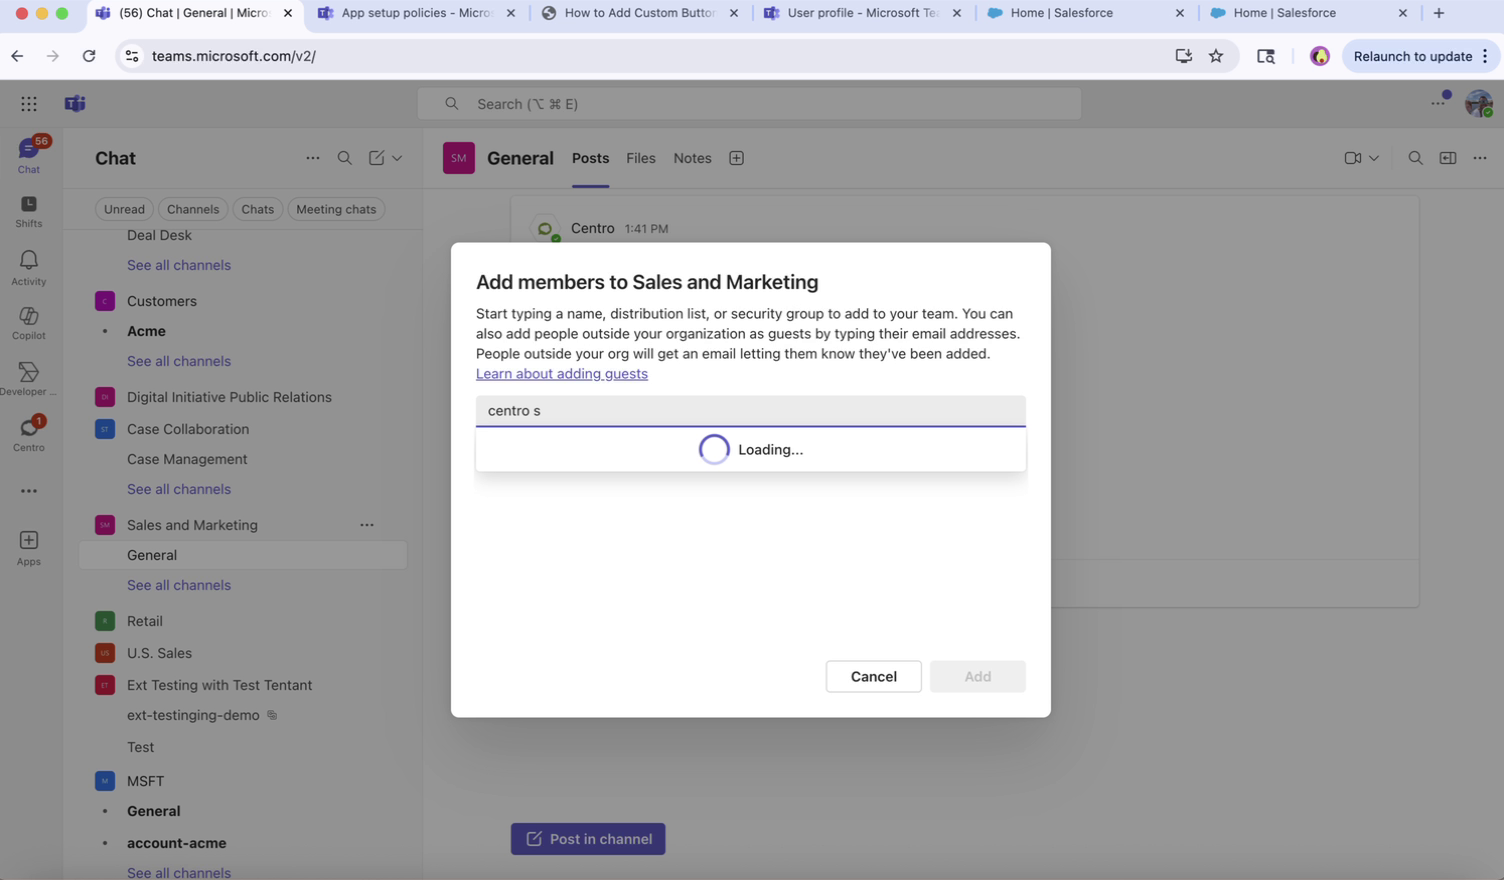
- Add your agent user (e.g., Centro Service Agent) as a member of the Team (or to the group chat).

Part 4 — Finish Setup by @Mentioning the Agent
- In the target channel or chat, type
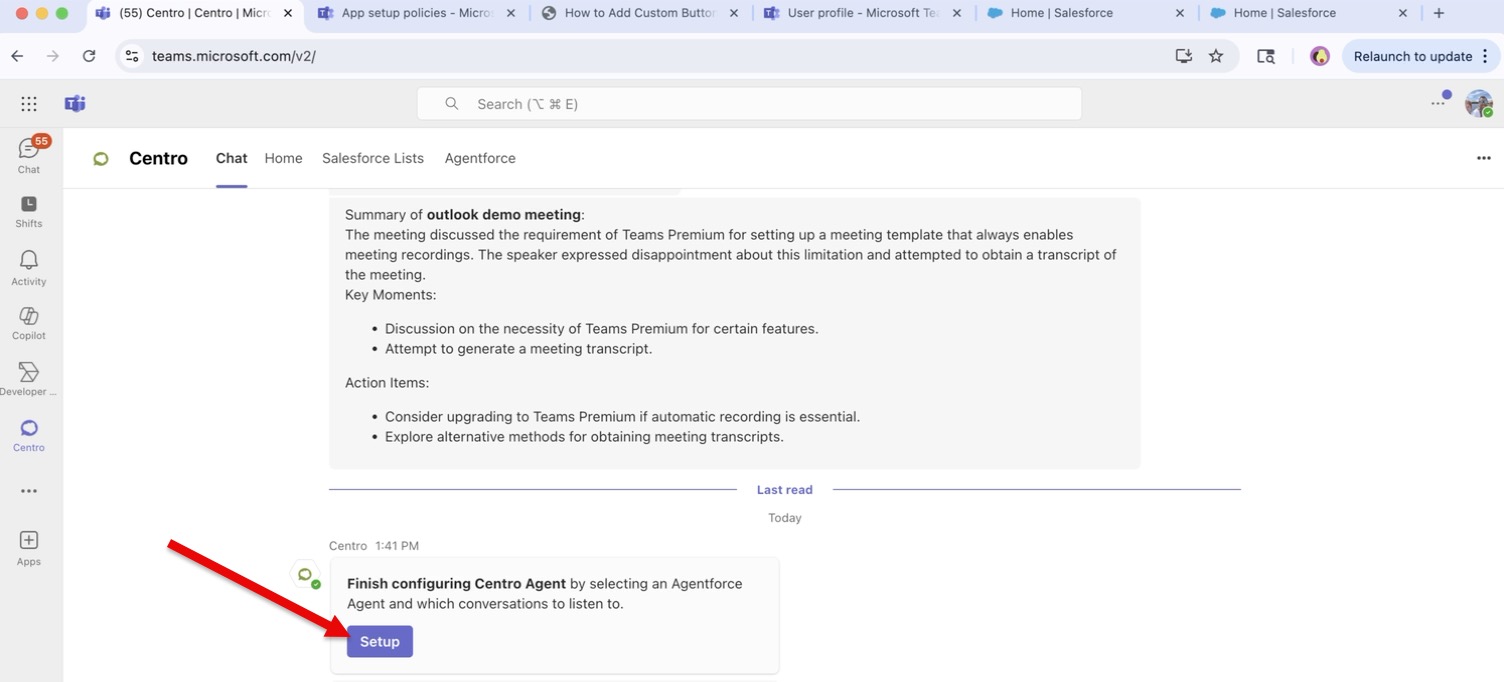
@<Your Agent Name>to mention the agent. - The Centro bot will DM you (or post) prompting you to finish configuration.
- Click Set up, choose the correct agent, and select which conversations the agent should listen to.
- Save your choices to complete setup.

Part 5 — Test the Agent
- Return to the channel or chat and @mention the agent again.
- Verify the agent replies appropriately to confirm everything is working.
Troubleshooting
- No setup prompt? Confirm the Centro app is added to the Team/Chat and the agent user is a member.
- Authorization failed? Re-open Agentforce > gear and click Authorize Centro, then re-enter the agent credentials.
- Agent not responding? Ensure the correct conversations were selected during setup; repeat the setup prompt if needed.
Questions? Contact your administrator or Centro support: support@centro.rocks.
