
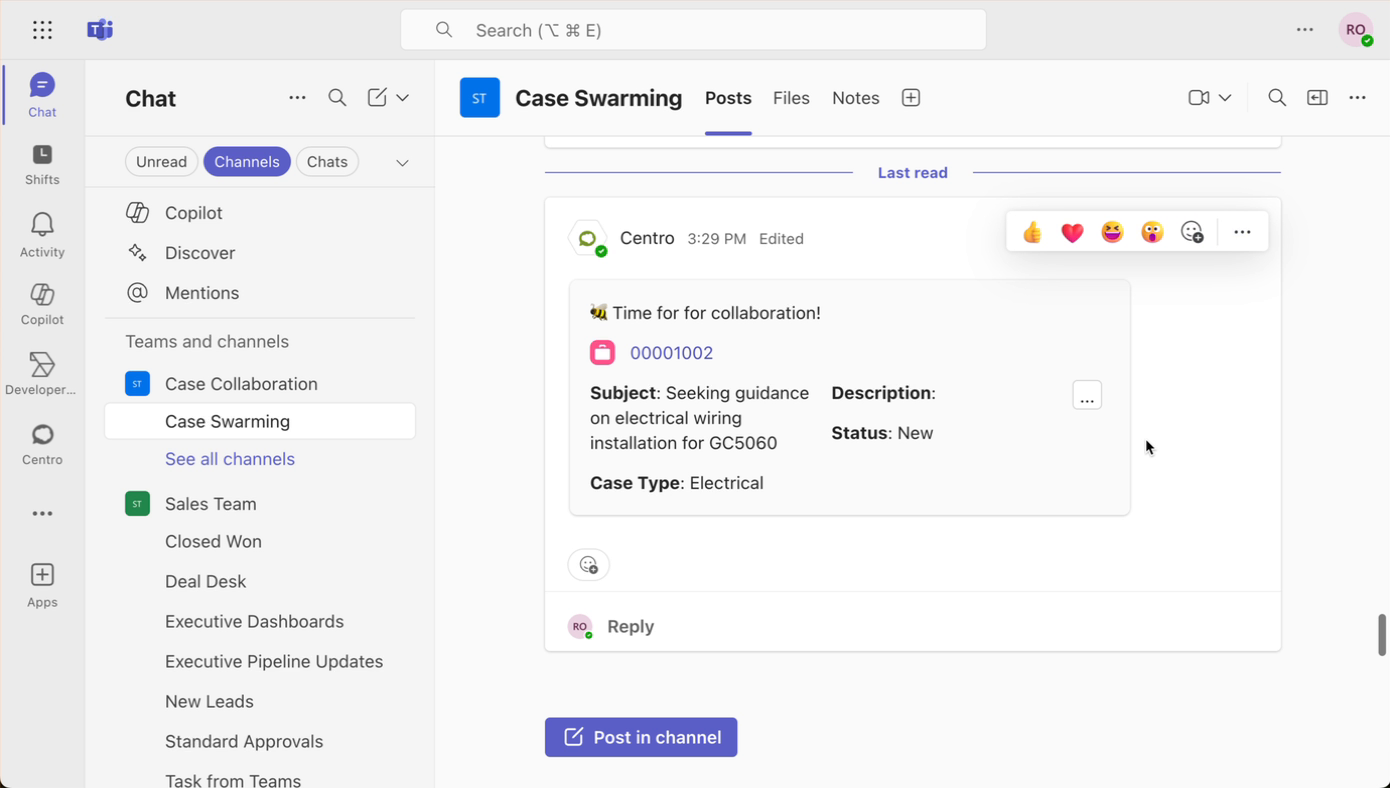
Customize a Centro Record Block in Microsoft Teams
Overview
The Centro record block in Microsoft Teams can be tailored to your workflow. This article shows how to:
- Add or remove fields displayed in the block
- Enable New buttons based on related Salesforce items
- Create custom buttons that either fire a Salesforce Platform Event or open a Centro form
Scope: Customizing a record block applies to all records of that object and overrides the default (compact layout-based) block.
Prerequisites
- Centro installed in Microsoft Teams
- Salesforce connected user configured for your workspace
- Salesforce license for users who will create related records via New buttons
- Optional: an automation user or requiring each user to authenticate for actions taken via Centro forms
1) Open the Customize Panel
- In the record block, select the ⋯ (More) menu.
- Choose Customize.
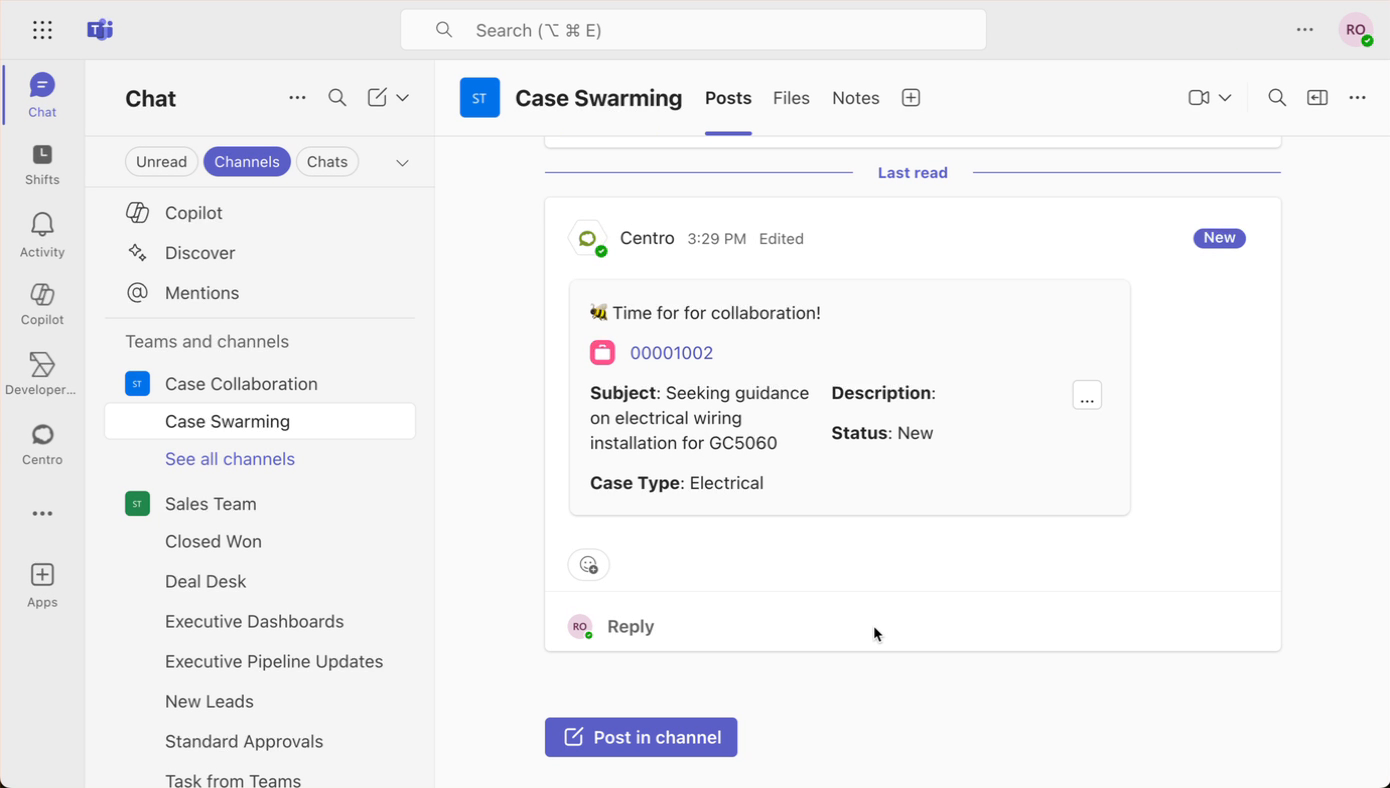
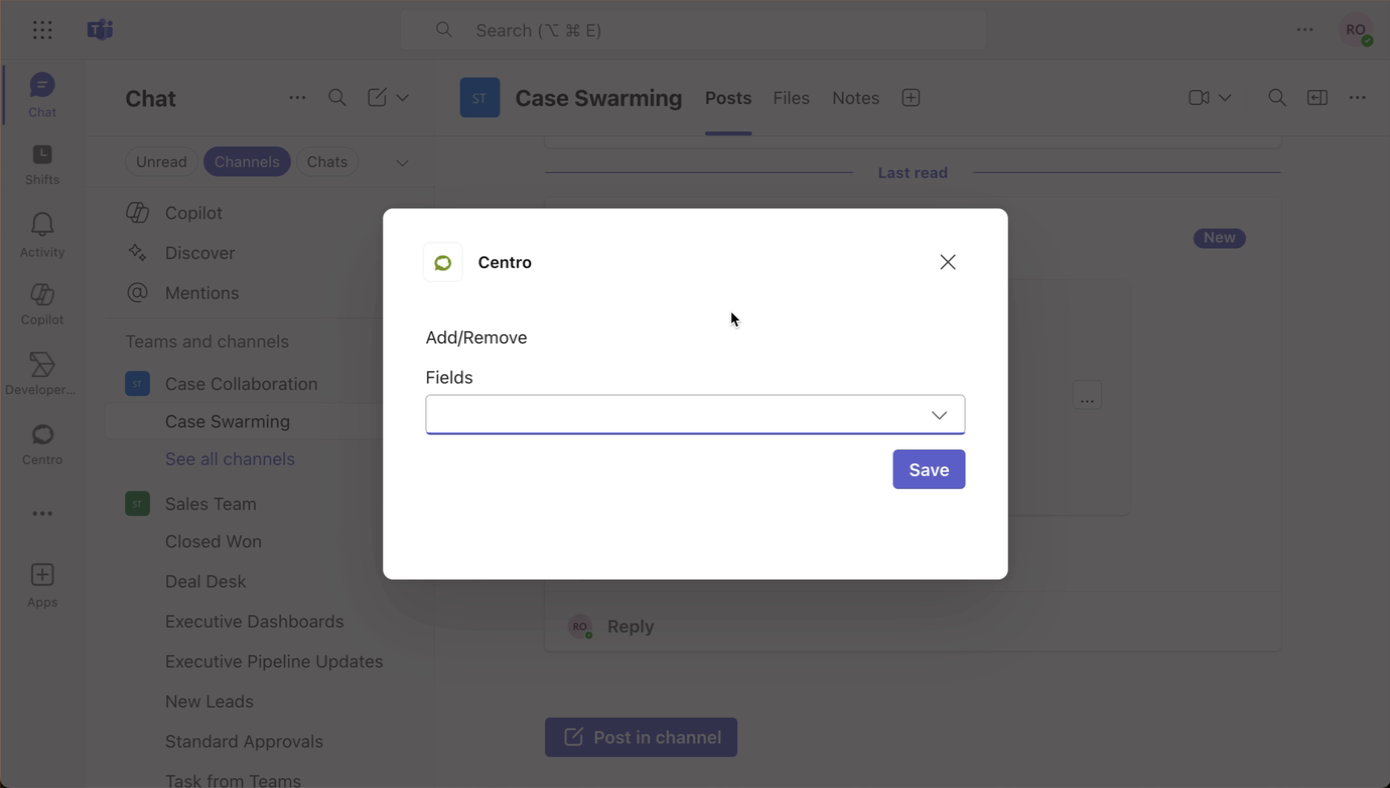
2) Add or Remove Fields
- Select Add fields or Remove fields.
- Use the dropdown (caret) to browse available fields for the object.
- Select the fields you want to display, then choose Save.
After saving, the selection applies across all records for that object.
3) Configure New Buttons
- Open the New buttons section.
- Select which related items (e.g., Tasks, Cases) you want available as quick-create actions.
- Choose Save.
Note: Creating related records requires a configured Salesforce connected user and an active Salesforce license.
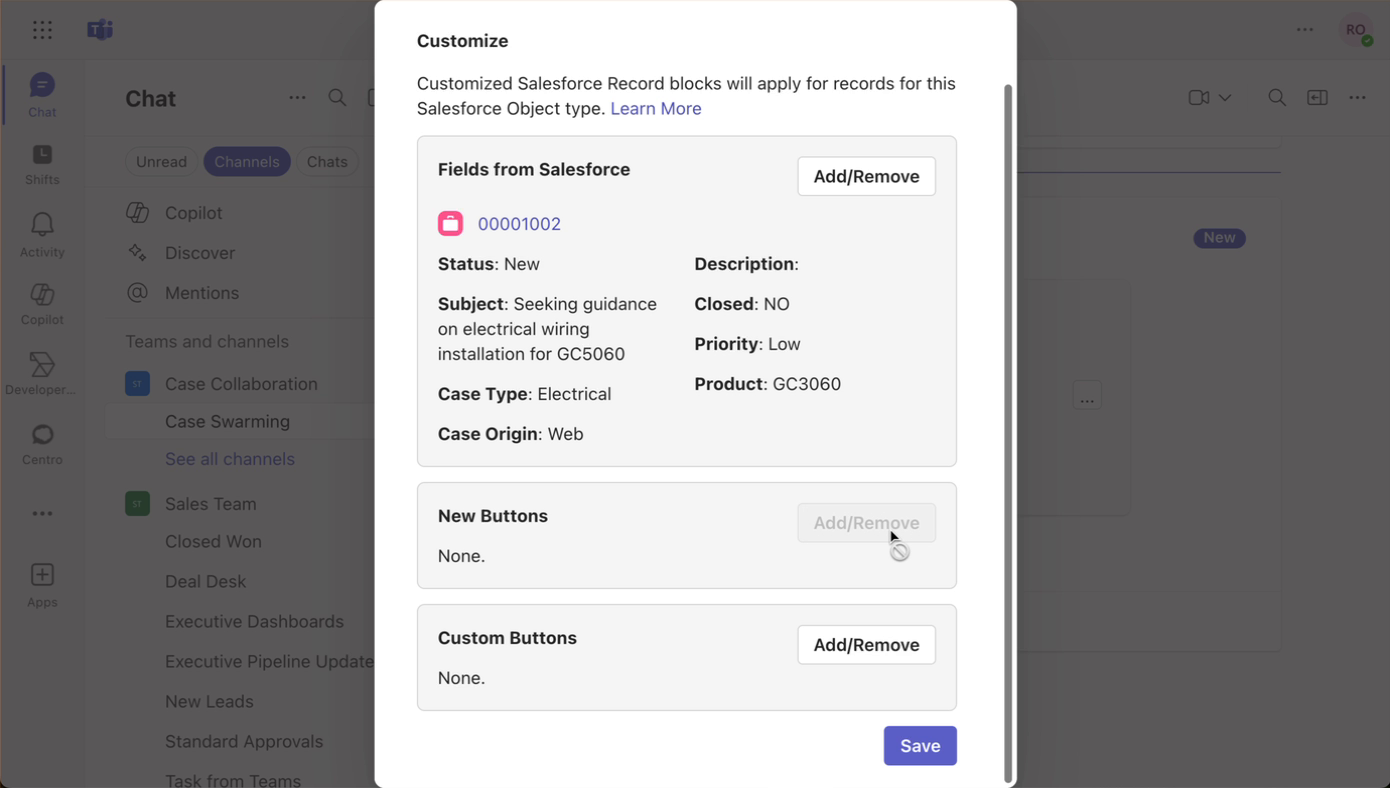
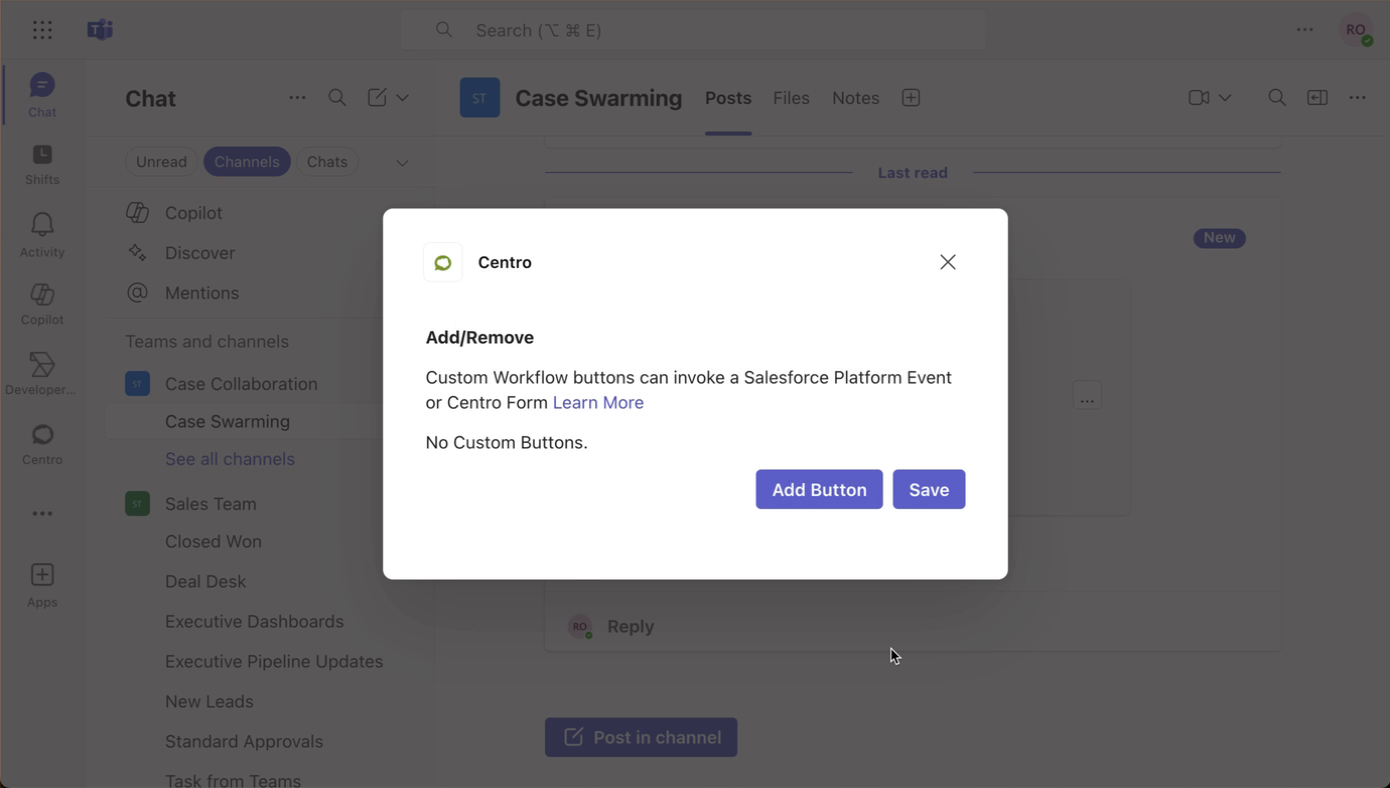
4) Add Custom Buttons
You can add buttons that either:
- Fire a Platform Event to your Salesforce org, or
- Open a Centro form that writes data back to Salesforce.
Option A — Fire a Platform Event
- Select Custom buttons → Fire Platform Event.
- Name the event and save.
Option B — Use a Centro Form
- Select an existing Centro form from the list.
- Choose whether updates run as an automation user or require each user to authenticate with Salesforce.
5) Save, Refresh, and Edit
- After changes, select Save.
- Use Refresh in the record block to load your updates.
- You can edit inline using fields you have permission to access in Salesforce; visibility and editability respect Salesforce permissions.
FAQs
Do changes affect other users?
Yes. Customizations apply to all records of the object and replace the default compact-layout-based block.
Who can see or edit fields?
Field visibility and edit rights come from Salesforce permissions. Users only see and edit what they’re allowed to.
What if I don’t see some fields?
Confirm your Salesforce profile/permission sets include access to those fields and that you’ve added them in the Customize panel.