How to Change the Centro Bot Name in Slack and Salesforce Flow?
How to Change the Centro Bot Name in Slack and Salesforce Flow?
If you want to customize the Centro bot name and icon in your Slack workspace or Salesforce Flow notifications, you're in the right place. This guide will walk you through the steps to change the Centro bot name in both platforms.
Changing Centro Bot Name in Slack:
1. Navigate to Admin Settings:
- First, log in to your Slack workspace as an administrator.
- Click on your workspace name in the top-left corner and select "Admin Settings" from the dropdown menu.
2. Configure Apps:
- In the Admin Settings, find and click "Configure Apps" under the "Workspace Settings" section.
3. Edit App Name:
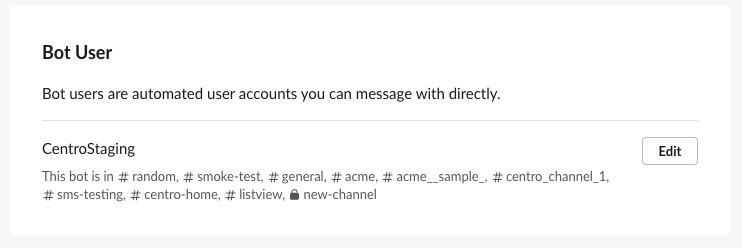
- Scroll down to locate the app you wish to modify.
- Click on the "Edit" option next to the app's name.
- Enter the new name for the app and save your changes.

4. Display Changes:
- The new name will now be reflected wherever the app is posted in Slack.
- Please note that this change only affects the name display, not the image.
Changing Centro Bot Name in Salesforce Flow:
1. Access Salesforce Flow:
- Log in to your Salesforce account and navigate to the Flow Builder.
2. Send Notification Flow Element:
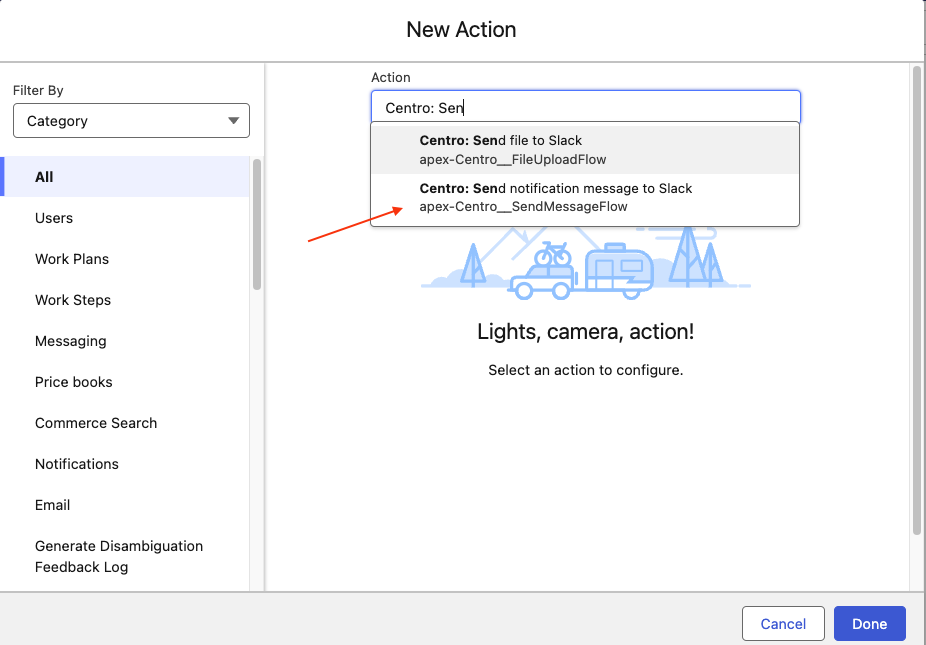
- If you're working within a Flow that includes the "Centro: Send notification message to Slack" element, navigate to that section.

3. Override Display Name and Icon:
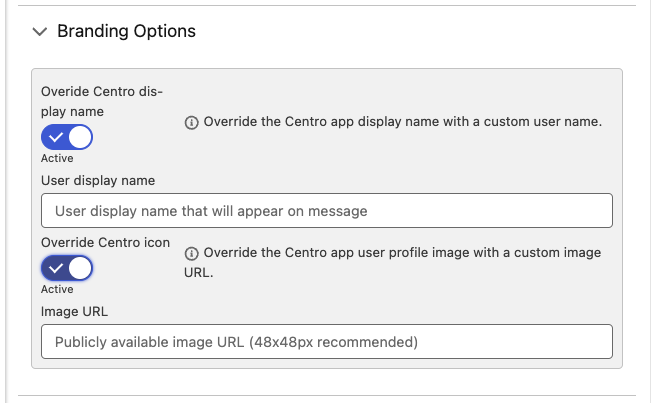
- In the branding options of the Send Notification element, you can override the display name and icon.
- Provide a publicly available URL for the image, adhering to recommended pixel sizes.

4. Limitations:
- Note that this method does not work if you're posting a file with the flow element.
- Changes made here will not override the icon or name within the message thread.
